No matter what size your business is, having an account with a carrier can save you money by giving you access to discounts and negotiated rates. Most carriers don’t require an account to user their services, but some do. We’ll let you know in this guide if you need an account or not.
This guide will show you how to link Canada Post to Intuitive Shipping. To learn how to link other carriers, go here. We’ll also provide some information on restrictions and troubleshooting with Canada Post. If you can’t find what you’re looking for, please reach out to Canada Post directly for more information, as they are best equipped to handle specific inquiries about their services.
How It Works
There are two (2) ways to add carrier accounts to Intuitive Shipping. The first is to link your credentials to your Carrier accounts settings. The second is to add your credentials directly from a parcel service shipping method.
You can connect Canada Post to your Intuitive Shipping Carrier account settings if you have an account. Then, when you set up a parcel service shipping method and select Canada Post as the ‘parcel service’, you’ll have the option to use rates from your account.
You can also add a carrier while you’re setting up a parcel service shipping method. When you add Canada Post during the shipping method setup, your account credentials are automatically saved to your Carrier accounts settings for future use in other parcel service shipping methods.
If you don’t have an account with Canada Post, you can still use them as a parcel service.
This guide will show you how to add Canada Post to your Carrier accounts settings.
If you already have a Canada Post account, skip ahead to Add Canada Post To Carrier Account Settings. Otherwise, continue to the next section.
Create A Canada Post Account
1) Open a new browser tab, then go to the Canada Post Developer Program website.
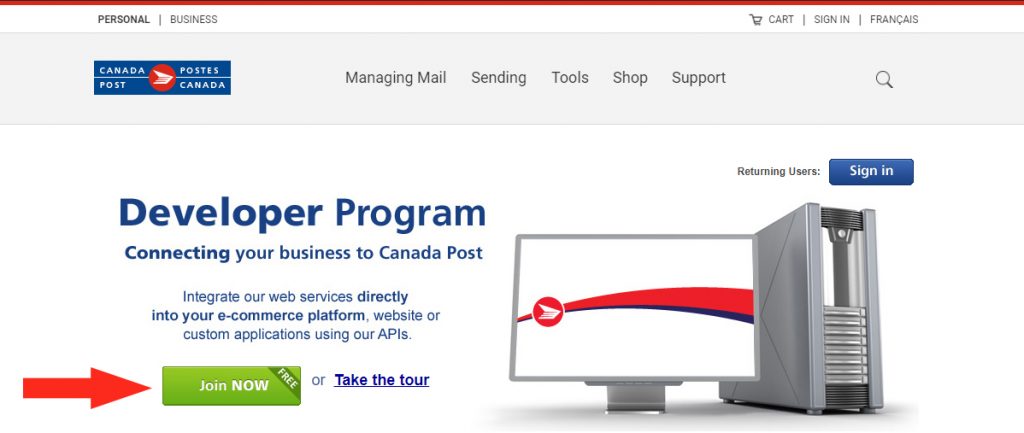
2) Click the Join NOW button to begin the account application process.
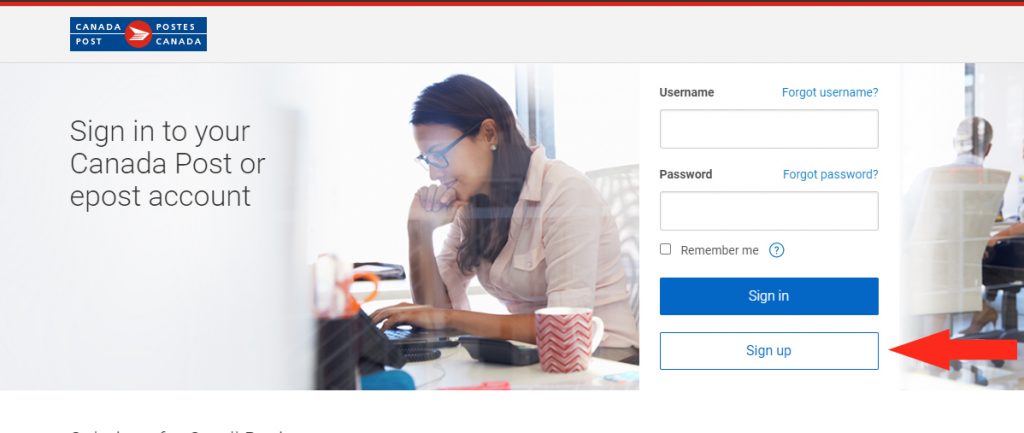
3) Click the Sign up button.
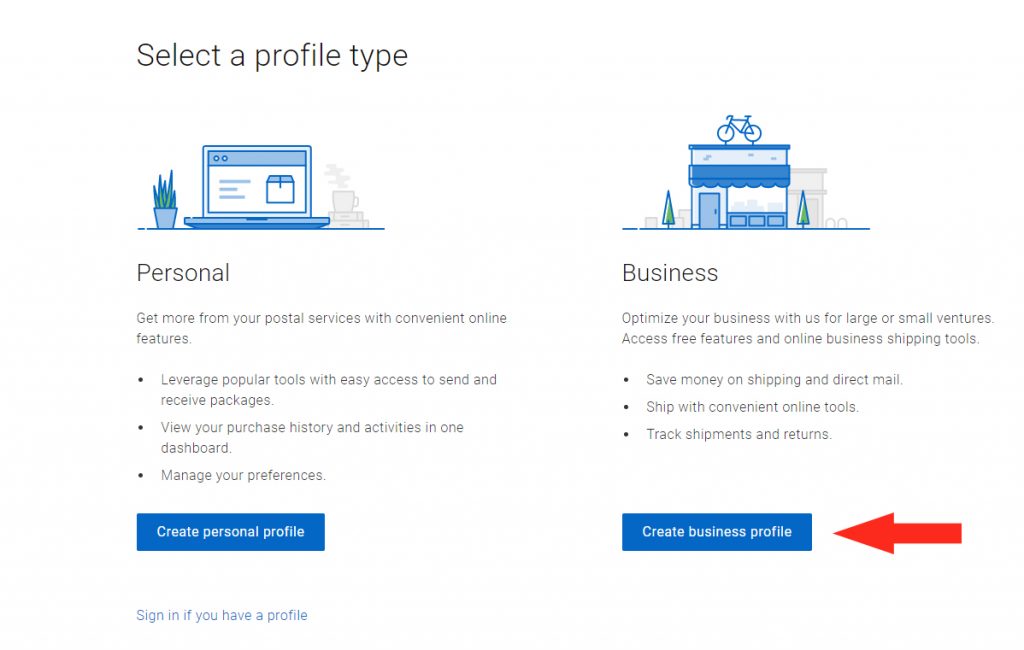
4) Click the Create business profile button.
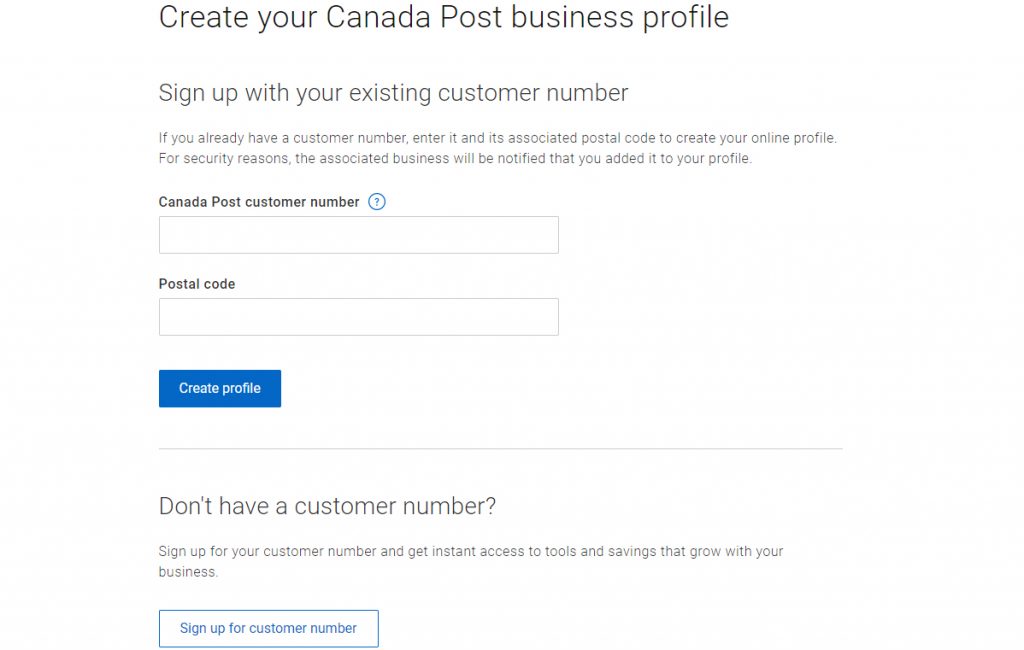
5) Finish creating your business profile by signing up with an existing customer number or creating a new one. Make a note of your customer number, as it is required for connecting your account.
6) On the Welcome page, make a note of the Key Number that appears in the Production section of the API Keys table. The Key Number contains your username and password.
7) Return to Intuitive Shipping.
Add Canada Post To Carrier Accounts Settings
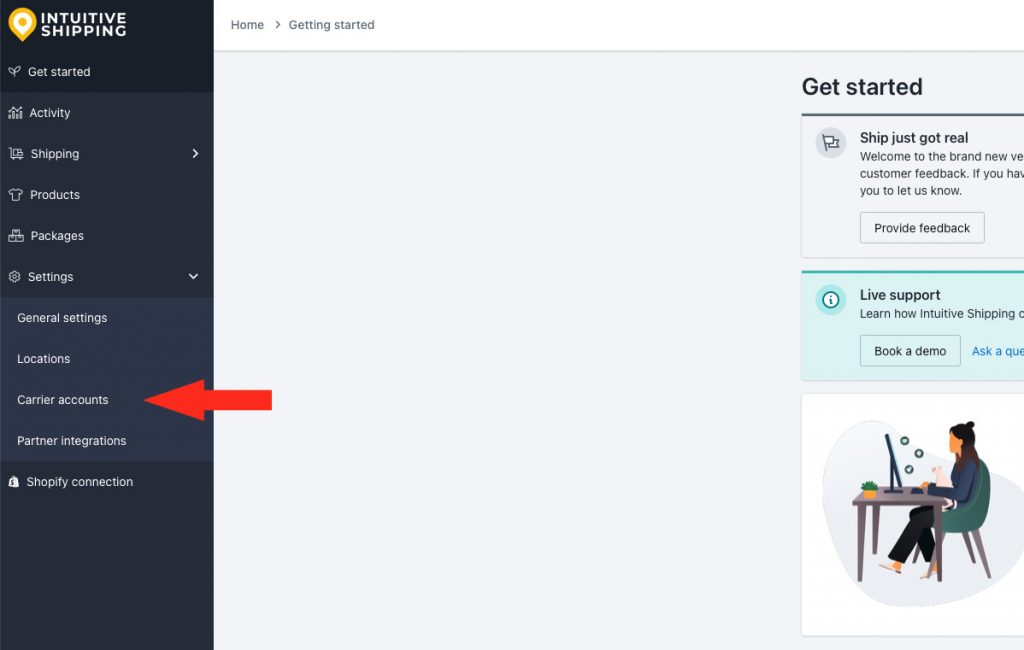
1) Click Settings on the sidebar menu, then select Carrier accounts from the drop-down list.
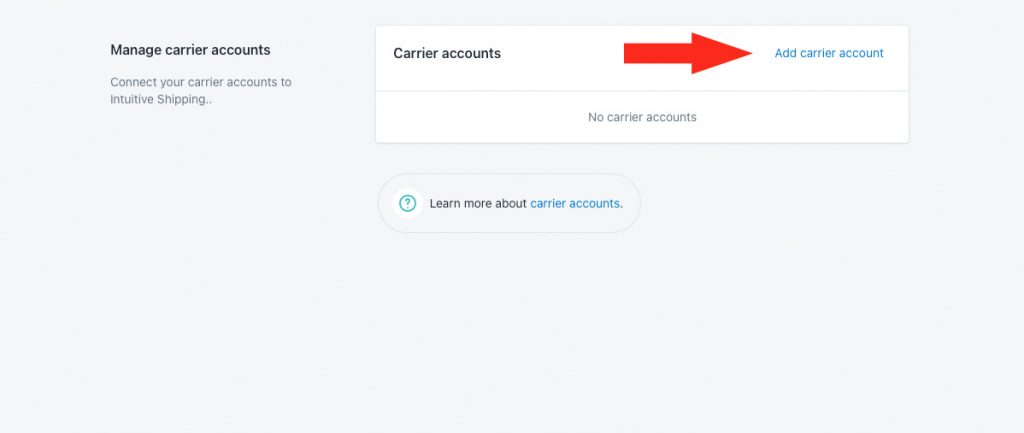
2) Click Add carrier account.
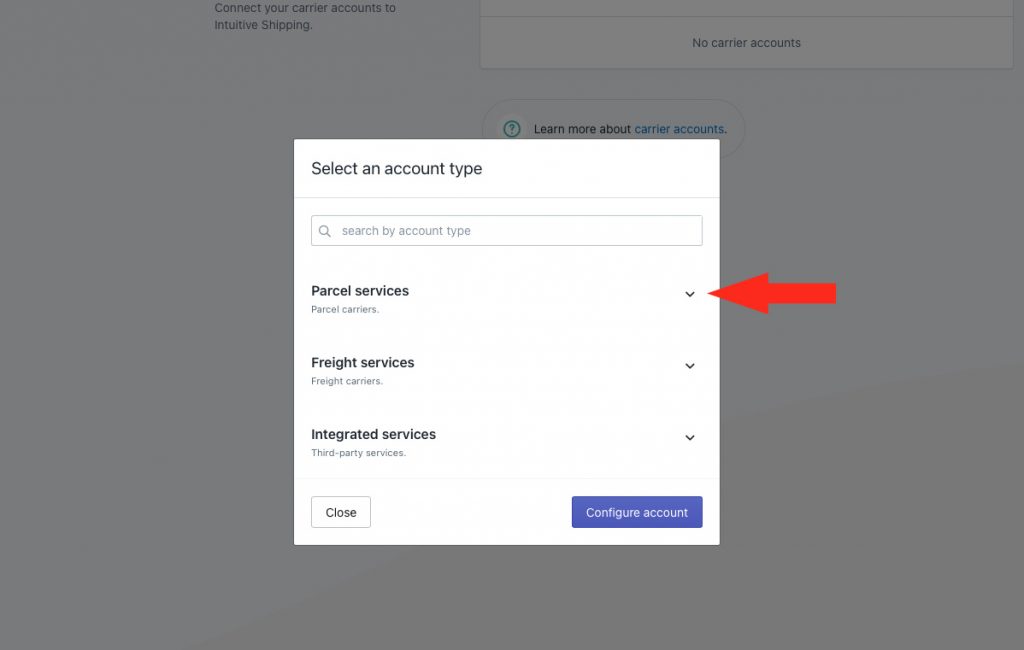
3) Click the downward arrow beside Parcel services.
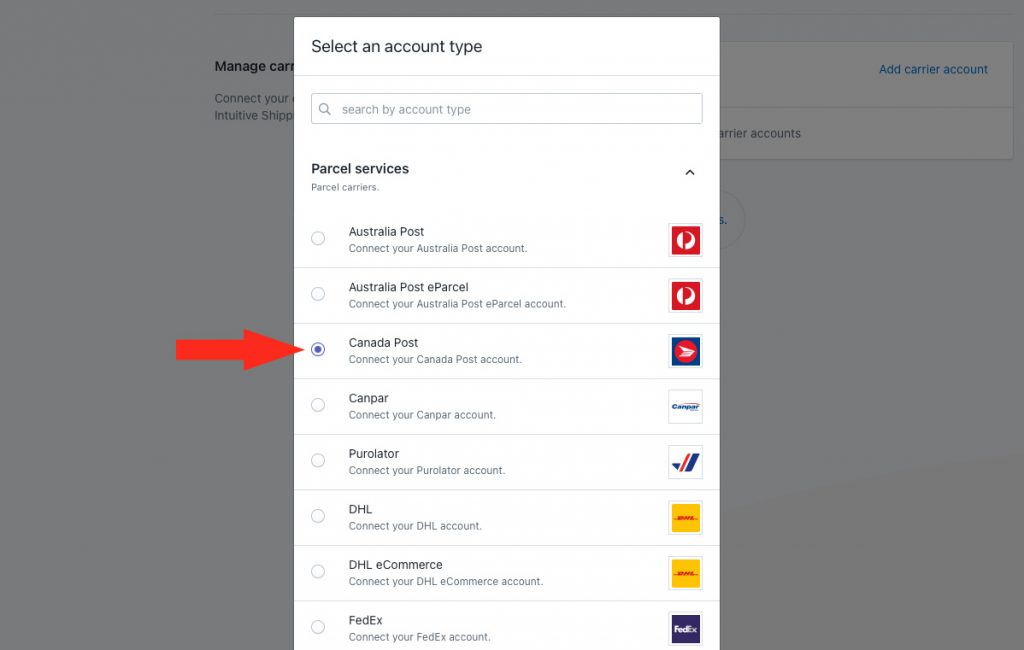
4) Select Canada Post from the drop-down list.
5) Click the Configure account button.
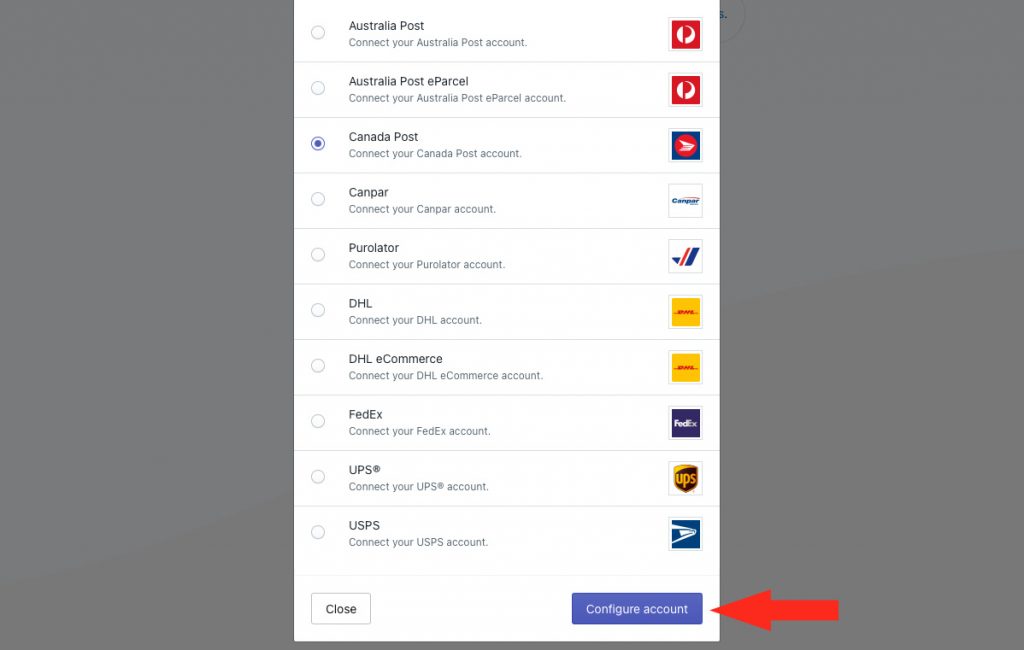
Carrier Account Settings
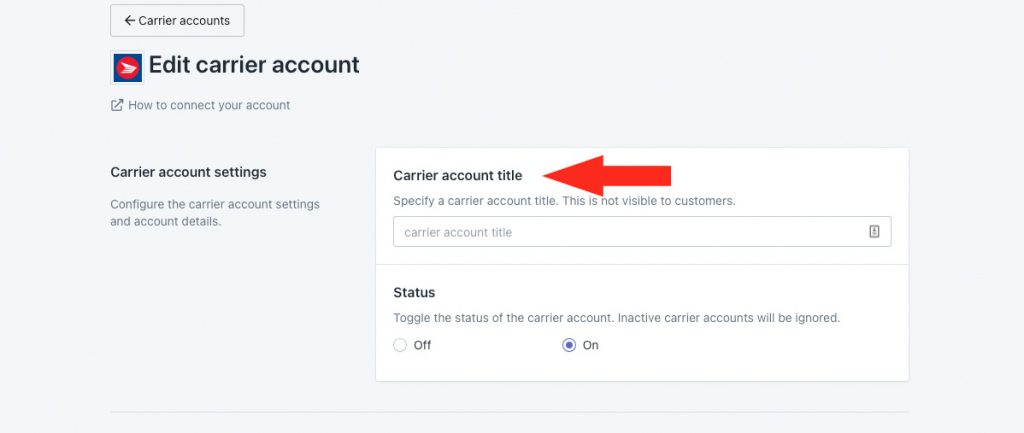
1) Enter a carrier account title, such as ‘Canada Post’.
2) Select the status for your Canada Post account.
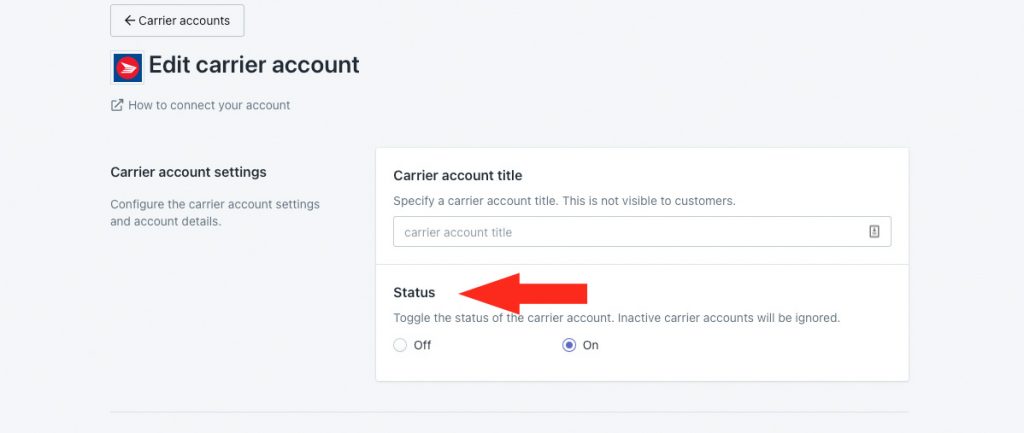
You have two (2) settings to choose from:
Off – when you set up a parcel service shipping method with Canada Post, your account credentials will be ignored, even when your account is selected. The system will fall back to standard retail rates.
On – when you set up a parcel service shipping method with Canada Post, your account credentials will be used to calculate shipping costs when your account is selected. This is the default setting.
Canada Post Account
To complete this section, you’ll need your Canada Post Key Number – which contains both your username and password – along with your Account number.
Your Contract Number is optional.
The Key Number contains two parts, separated by a : character. The first part is your Username and the second part is your Password. When completing Step 1, be sure the : colon is not included in either field, as this will result in an authentication error.
If you don’t know your credentials, skip ahead to Retrieve Canada Post Account Credentials.
Return to this section once you have the required information.
1) Enter your Canada Post Username and Password, obtained from your Key number.
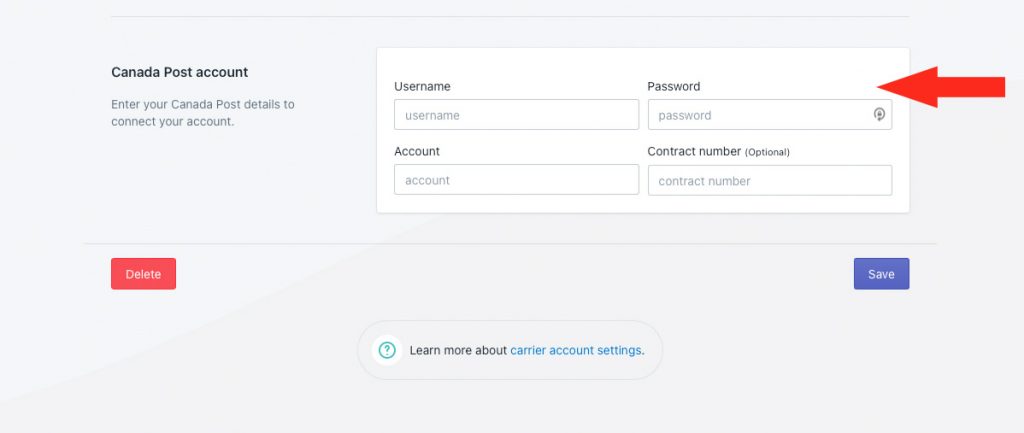
2) Enter your Account number (Customer number) and, if needed, your Contract number.
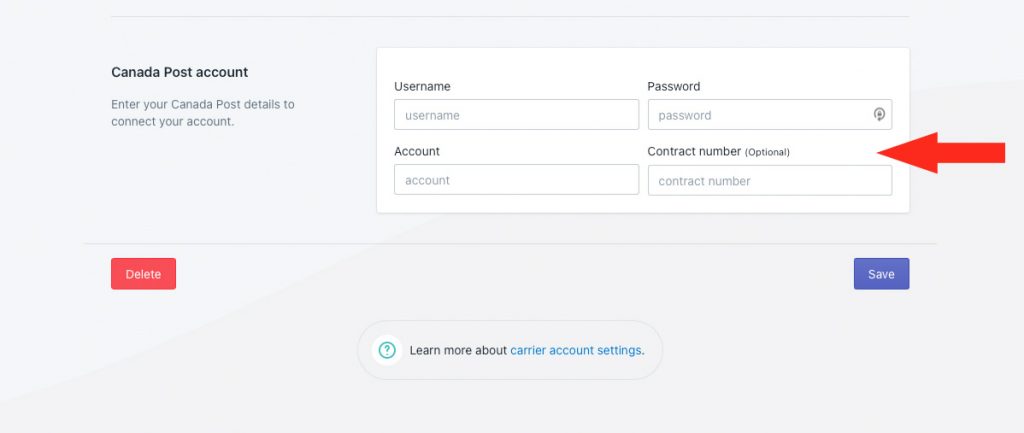
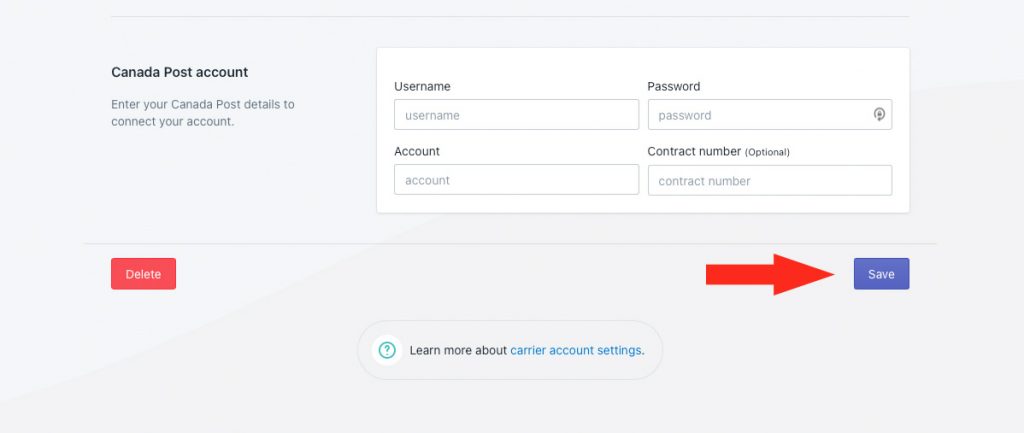
3) Click the Save button to save your account settings.
The Canada Post API provides quotes for up to 20 shipping rates per minute. If your increase request is approved, your account will be able to retrieve up to 400 shipping rates per minute.
Retrieve Canada Post Account Credentials
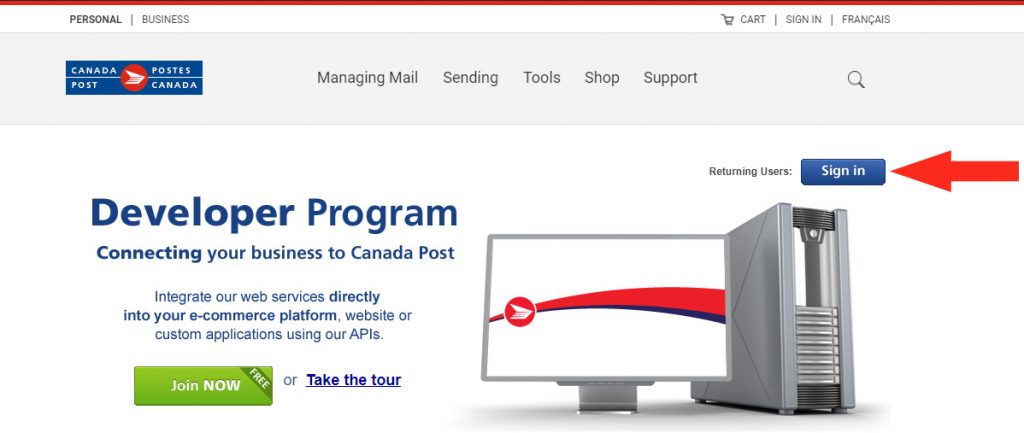
1) Open a new browser tab, then go to the Canada Post Developer Program website.
2) Click the Sign in button.
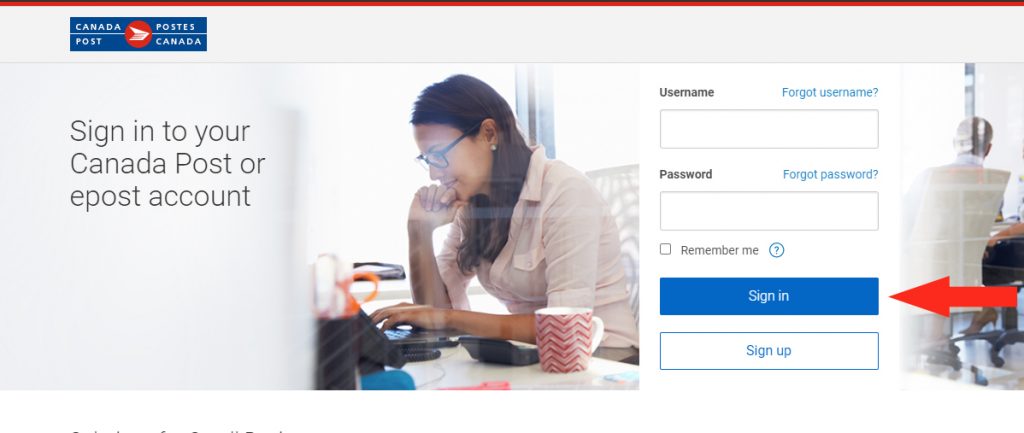
3) Enter your Username and Password, then click the Sign in button.
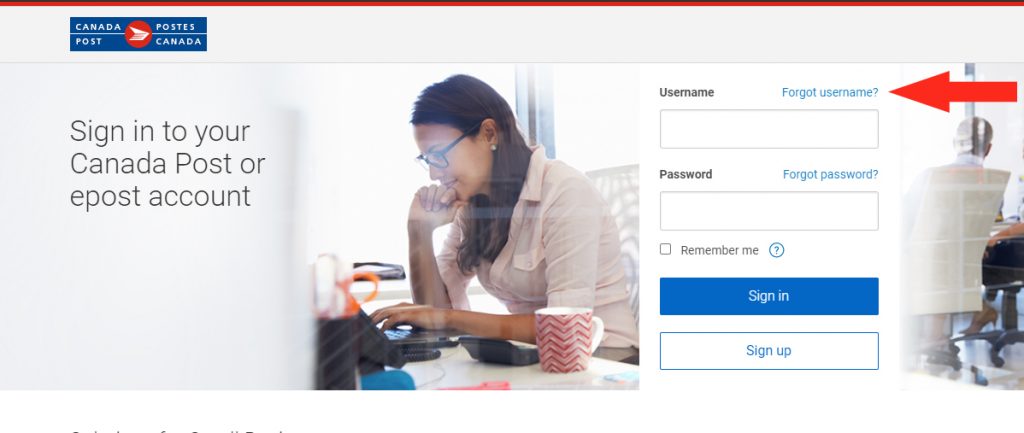
3) Find and make a note of your Customer Number (account number), key number and contract number.
4) Return to Intuitive Shipping and begin at Step 1 of Canada Post Account.
Carrier Restrictions
Each carrier has restrictions that may limit your shipping capabilities or prevent you from making certain shipments. Here are some restrictions to be aware of when using Canada Post.
- Originating address – to use Canada Post, the shipment must originate within Canada.
- Restrictions by country – each country you ship to may have its own trade and import restrictions. Not all Canada Post delivery services are available to all countries. To learn more about restrictions to specific countries, go here.
- Prohibited items – certain goods, including items considered to be illegal, may not be shipped by Canada Post under any circumstances. To learn more about prohibited items, go here.
- Controlled items – items such as tobacco and vaping products, plants and animals, and dangerous goods may be shipped if they meet certain criteria. Other items such as cannabis and pharmaceuticals may be shipped by Canada Post under strict regulations in some areas and prohibited in others. To learn more about controlled items, go here.
- Packaging restrictions – some products can only be shipped if they comply with certain packaging standards. To learn more about Canada Post’s packaging requirements for odd items, go here.
- International restrictions – customs requirements may limit what you ship, how you ship it, and how it can be returned to Canada. You may also require additional documentation and fees to complete your shipment. To learn more about meeting customs requirements, go here.
- Size & weight restrictions – all parcels and documents shipped by Canada Post must not exceed a length of 2 meters (6.5 feet), a length plus girth of 3 meters (9.8 feet), or 30 kg (66 lbs). Parcels exceeding the limits may be subject to additional fees and may be shipped only at the discretion of Canada Post. For more information about Canada Post size and weight restrictions, go here. Individual delivery services may have size limitations; for example, Small Packet services are limited to 2 kg (4.4 lbs).
Troubleshooting
In certain situations, live rates from Canada Post may not appear at checkout, or they might not be displayed as expected. You may be able to determine why rates aren’t being displayed correctly by reviewing the rate calculation Activity.
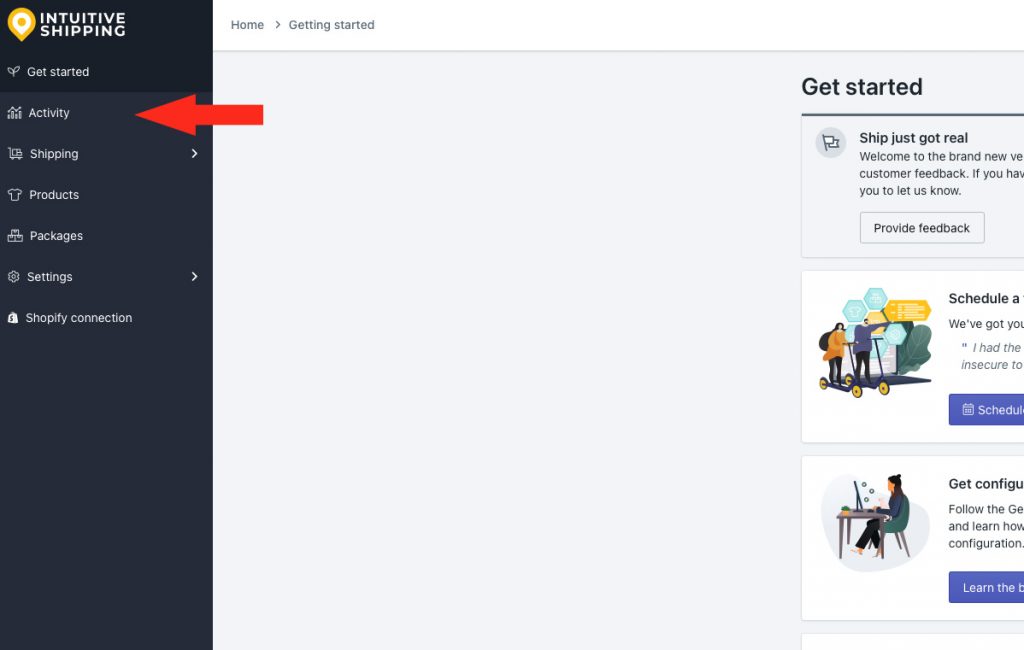
1) Click Activity on the main menu.
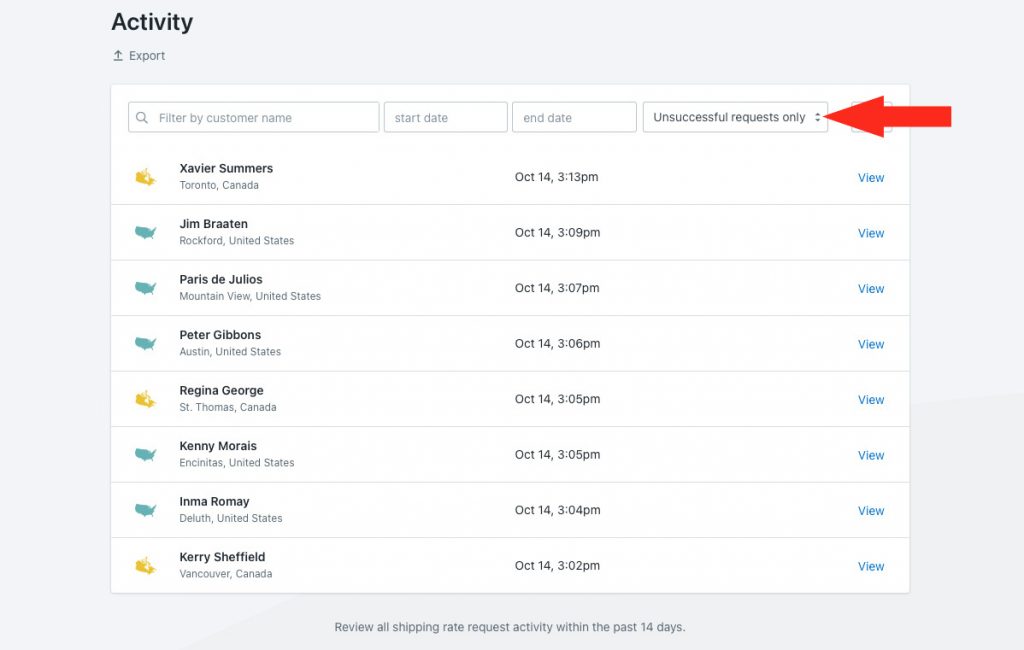
2) Select ‘Unsuccessful requests only‘ from the Filter by request status drop-down list. This will list only Activities where rates were not returned.
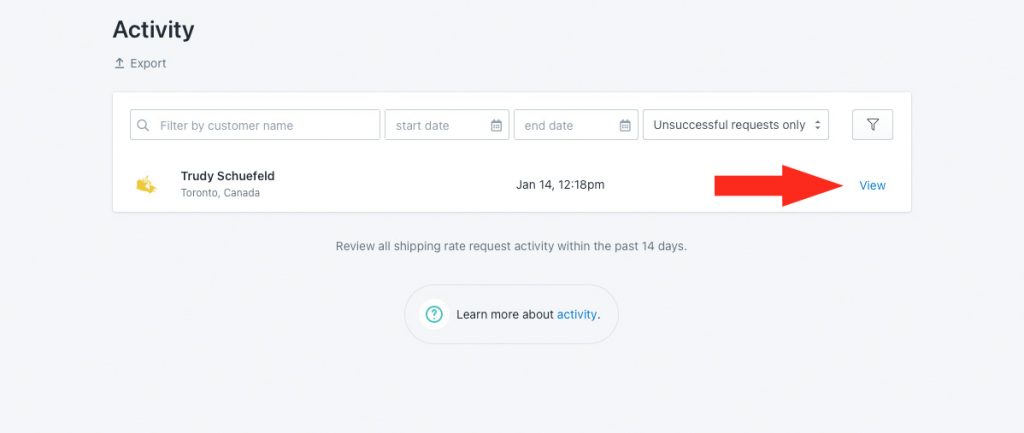
3) Click View beside any ‘unsuccessful’ Activity.
4) In the Details section, click View log beside Warnings and errors, if available.
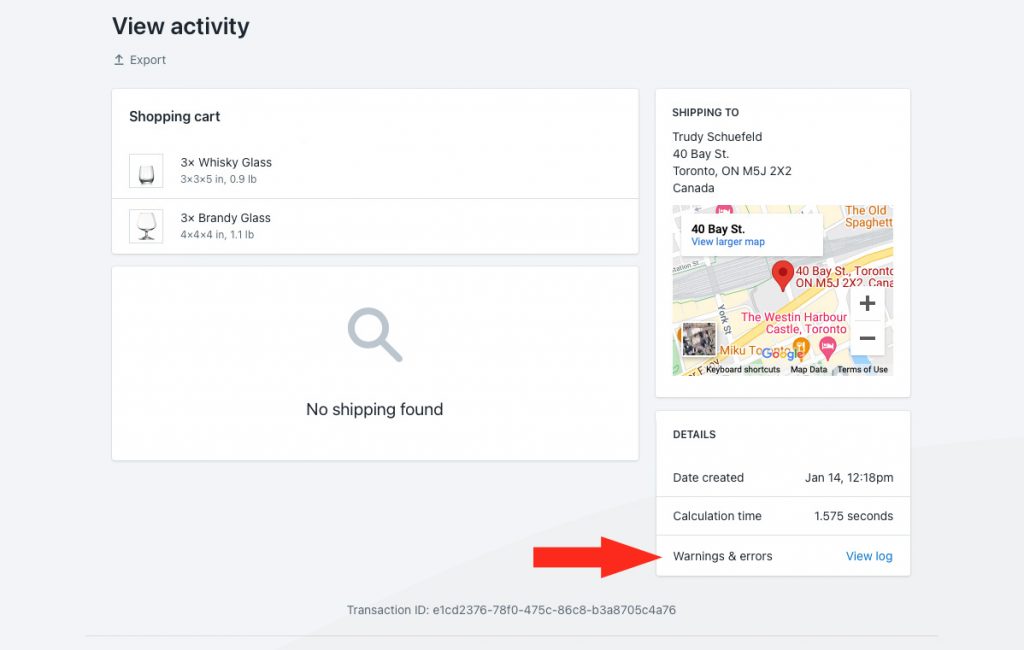
That means warnings and errors won’t be available if a customer did not include part of their address, or if you set the status of a Scenario or shipping method to Off, or if you haven’t yet enabled Shopify’s carrier-calculated shipping rates feature. Errors typically display when a package – or the entire shipment – exceeds carrier limits, when product weights (or dimensions, if applicable) are missing, or when the selected carrier services are not available at the customer’s address.
5) Review the warnings and errors for Canada Post delivery services.
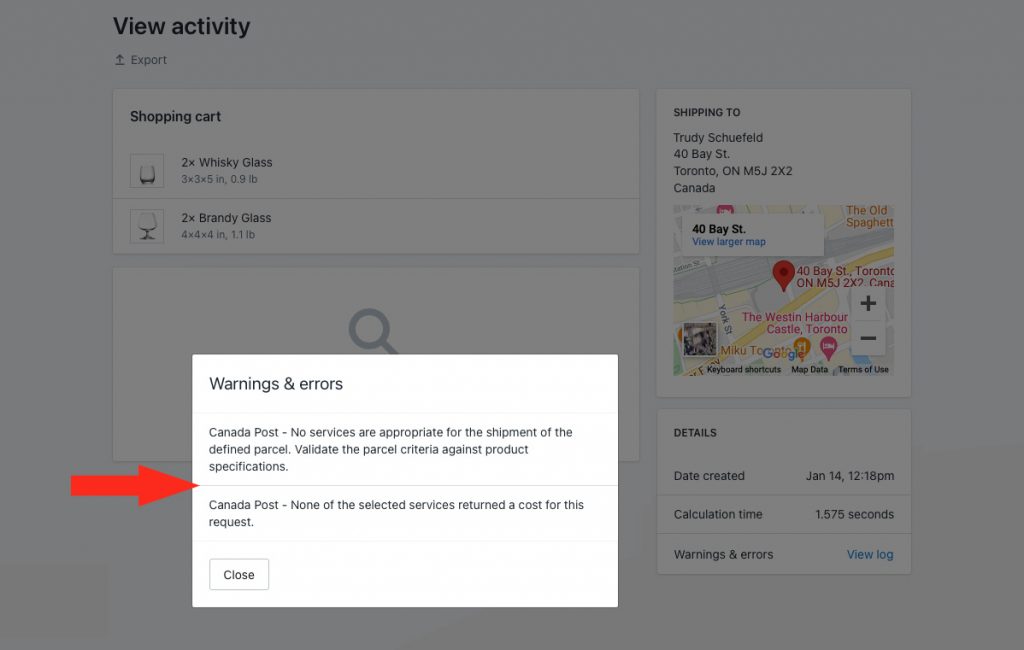
Here are some of the more common reasons why your Canada Post live rates may not be appearing at checkout.
Setup & Test Mode
While you are in Setup & Test mode, live rates will only appear when you use ‘Intuitive’ as either the customer’s first or last name at checkout, even when the Scenario status is set to ‘On’. To make your rates available to customers, you will need to select a billing plan to activate your account and begin your free trial.
Scenario Status
If Canada Post rates are not appearing, it may be because the Scenario status is set to either Off (not visible to anyone) or Test (only visible when the customer name contains ‘Intuitive’).
Shipping Method Status
If Canada Post rates are not appearing, it may be because a shipping method’s status is set to either Off (not visible to anyone) or Test (only visible when the customer name contains ‘Intuitive’).
Carrier-calculated Shipping Rates
Shopify’s third-party carrier-calculated shipping rates feature must be enabled on your Shopify account in order to use any third-party shipping rate calculator app, including Intuitive Shipping.
Account Credentials
Double-check to make sure that have entered the correct Username, Password, and Customer (account) number, and that there are no spaces or extra/ missing characters.
Packages
Rates may not appear if suitable package sizes are not available in a carrier service shipping method. For example, when the appropriate package size is either missing completely, or the status is set to Off, the next largest package size will be used. If the larger package exceeds Canada Post’s size limitations, a rate will not be generated.
When no suitable package is available, Intuitive Shipping will attempt to create a custom package using the dimensions of the product(s) in the cart. Similarly, if the custom package exceeds Canada Post’s size limitations, a rate will not be generated.
Check to make sure that the packages in your Canada Post Shipping Method are suitable for products you’re shipping with Canada Post and that they do not exceed the size limitations.
Delivery Services
Some Canada Post delivery services may not be available due to restrictions, such as shipment size and weight or the customer’s address. If some delivery service rates are being generated, but others are not – or, if rates from another parcel service shipping method are being generated, but rates from Canada Post are not – it is most likely due to service restrictions.
Be sure to check that the selected services are compatible with the shipping address. For example, if the customer’s address is in the US, and only domestic ‘Within Canada’ services have been selected in the shipping method, rates will not be displayed.
If some rates were returned at checkout, but others were not, check for warnings and errors related to Canada Post.
Product Dimensions & SmartBoxing™
If you are using the SmartBoxing™ algorithm for packing, all products must have dimensions assigned to them in Intuitive Shipping. Product dimensions determine how the SmartBoxing™ system will package the order. When product dimensions are missing, the packing process cannot be completed. Package information cannot be sent to Canada Post, and the calculation fails.
Syncing
While you’re in Setup & Test Mode, any changes you make to your products need to be manually synced in your General Settings. Once you have activated your account, changes to your products are synced automatically with Intuitive Shipping. However, if you make several changes to products at one time, it is possible that the auto-sync was not completed properly. When product information critical to the calculation is missing, the process fails, and package information cannot be sent to Canada Post.
If you’re using the SmartBoxing™ packing algorithm, product dimensions are required. Be sure to add dimensions to any new products recently synced with Intuitive Shipping.
Cost Adjustments
If rates are returning but appear to be either too high or too low, cost adjustments may have been applied to the shipping method in the Optional Settings section. Check the Cost adjustment section of your Canada Post shipping method’s Optional Settings.
Contact Us
If Canada Post rates are not being displayed as expected and you are unable to resolve the issue, please contact us. We’re here to help!
